nomad集群搭建
上文提到本地搭建虚拟机集群
本文将在虚拟机集群上搭建nomad集群
安装
首先安装consul 因为nomad依赖consul。
consul集群
首先选中一个虚拟机作为server,另外两个作为client。
安装
因为是虚拟机,apt不是很好用,我们下载二进制文件安装,
# 第一步 安装,选择最新版本

wget https://releases.hashicorp.com/consul/1.10.1/consul_1.10.1_linux_amd64.zip

unzip consul_1.10.1_linux_amd64.zip

sudo cp consul /usr/local/bin/
sudo chown root:root /usr/local/bin/consul
server
部署在172.26.39.156这台机器上
# 注册service

cd /etc/systemd/system

sudo vi consul.service

[Unit]
Description=Consul Service Discovery Agent
Documentation=https://www.consul.io/
After=network-online.target
Wants=network-online.target

[Service]
Type=simple
User=root
Group=root
ExecStart=/usr/local/bin/consul agent -server -bootstrap-expect=1 -ui \
        -advertise=172.26.39.156 \ #改成你的IP
        -bind=172.26.39.156 \  #改成你的IP
        -data-dir=/var/lib/consul \
        -node=consul-01 \
        -config-dir=/etc/consul.d

ExecReload=/bin/kill -HUP $MAINPID
KillSignal=SIGINT
TimeoutStopSec=5
Restart=on-failure
SyslogIdentifier=consul

[Install]
WantedBy=multi-user.target

sudo mkdir -p /var/lib/consul
sudo mkdir -p /etc/consul.d

sudo systemctl enabled consul.service    #设置为开机自动启动
sudo systemctl daemon-reload    #修改脚本后重新加载
sudo systemctl start consul.service    #启动
client1
cd /etc/systemd/system
sudo vi consul-client.service
# 写入
[Unit]
Description=Consul Startup process
After=network.target

[Service]
Type=simple
User=root
Group=root
ExecStart=/usr/local/bin/consul agent -config-dir /etc/consul.d/client
TimeoutStartSec=0

[Install]
WantedBy=default.target
# 编写配置文件
sudo mkdir -p /etc/consul.d/client
sudo mkdir -p /var/lib/consul/client
cd /etc/consul.d/client

sudo vi config.json
# 写入
{
    "bind_addr": "172.26.39.81",
    "leave_on_terminate": false,
    "disable_host_node_id": false,
    "node_name": "client1",
    "server": false,
    "data_dir": "/var/lib/consul/client",
    "log_level": "INFO",
    "enable_syslog": true,
    "leave_on_terminate": true,
    "start_join": [
        "172.26.39.156"
    ]
}

sudo systemctl enabled consul-client.service    #设置为开机自动启动
sudo systemctl daemon-reload    #修改脚本后重新加载
sudo systemctl start consul-client.service    #启动
client2
cd /etc/systemd/system
sudo vi consul-client.service

[Unit]
Description=Consul Startup process
After=network.target

[Service]
Type=simple
User=root
Group=root
ExecStart=/usr/local/bin/consul agent -config-dir /etc/consul.d/client
TimeoutStartSec=0

[Install]
WantedBy=default.target

# 编写配置文件
sudo mkdir -p /etc/consul.d/client
sudo mkdir -p /var/lib/consul/client
cd /etc/consul.d/client

sudo vi config.json

{
    "bind_addr": "172.26.39.98",
    "leave_on_terminate": false,
    "disable_host_node_id": false,
    "node_name": "clent2",
    "server": false,
    "data_dir": "/var/lib/consul/client",
    "log_level": "INFO",
    "enable_syslog": true,
    "leave_on_terminate": true,
    "start_join": [
        "172.26.39.156"
    ]
}

sudo systemctl enabled consul-client.service    #设置为开机自动启动
sudo systemctl daemon-reload    #修改脚本后重新加载
sudo systemctl start consul-client.service    #启动
client 设置 consul 服务发现 DNS
所有的 consul client 用 systemd-resolved 设置
# 第一步
cd /etc/systemd/resolved.conf.d/
sudo vi /etc/systemd/resolved.conf.d/consul.conf

systemctl --version

# systemd 245 and older
[Resolve]
DNS=127.0.0.1
DNSSEC=false
Domains=~consul
# systemd 246 and newer
[Resolve]
DNS=127.0.0.1:8600
DNSSEC=false
Domains=~consul

# 第二步
sudo iptables --table nat --append OUTPUT --destination localhost --protocol udp --match udp --dport 53 --jump REDIRECT --to-ports 8600
sudo iptables --table nat --append OUTPUT --destination localhost --protocol tcp --match tcp --dport 53 --jump REDIRECT --to-ports 8600
# 第三步
sudo systemctl restart systemd-resolved
# 第四步
dig consul.service.consul
nomad集群
首先选中一个虚拟机作为server,另外两个作为client。
安装
# 第一步 安装,选择最新版本

wget https://releases.hashicorp.com/nomad/1.1.3/nomad_1.1.3_linux_amd64.zip

unzip nomad_1.1.3_linux_amd64.zip

sudo cp nomad /usr/local/bin/
sudo chown root:root /usr/local/bin/nomad
server
部署在 172.26.39.156这台机器上
cd /etc/systemd/system
sudo vi nomad.service

[Unit]
Description=Nomad server
Documentation=https://www.nomadproject.io/
After=consul.service

[Service]
Type=simple
User=root
Group=root
ExecStart=/usr/local/bin/nomad agent -config /etc/nomad.d/server.hcl

ExecReload=/bin/kill -HUP $MAINPID
KillSignal=SIGINT
TimeoutStopSec=5
Restart=on-failure
SyslogIdentifier=nomad

[Install]
WantedBy=multi-user.target

# 编写配置文件

sudo mkdir /etc/nomad.d/
sudo vi server.hcl

log_level = "DEBUG"

data_dir = "/tmp/server1"

name = "server1"

server {
  enabled = true

  bootstrap_expect = 1
}

sudo systemctl enabled nomad.service    #设置为开机自动启动
sudo systemctl daemon-reload    #修改脚本后重新加载
sudo systemctl start nomad.service    #启动
client-o-server
cd /etc/systemd/system
sudo vi nomad-client.service

# 编写配置文件
[Unit]
Description=Nomad client
Documentation=https://www.nomadproject.io/
After=nomad.service

[Service]
Type=simple
User=root
Group=root
ExecStart=/usr/local/bin/nomad agent -config /etc/nomad.d/client/client.hcl

ExecReload=/bin/kill -HUP $MAINPID
KillSignal=SIGINT
TimeoutStopSec=5
Restart=on-failure
SyslogIdentifier=nomad

[Install]
WantedBy=multi-user.target

# 配置文件
sudo mkdir -p /etc/nomad.d/client/
sudo vi client.hcl

log_level = "DEBUG"

data_dir = "/tmp/client"

name = "client-on-server"

client {
  enabled = true
  servers = ["172.26.39.156:4647"]
  host_volume "kafka" {
    path = "/data/kafka"
  }
  host_volume "zookeeper-data" {
    path = "/data/zookeeper/data"
  }
  host_volume "zookeeper-log" {
    path = "/data/zookeeper/log"
  }
}

ports {
  http = 5656
}


sudo systemctl enabled nomad-client.service    #设置为开机自动启动
sudo systemctl daemon-reload    #修改脚本后重新加载
sudo systemctl start nomad-client.service    #启动
client1
cd /etc/systemd/system
sudo vi nomad-client.service


[Unit]
Description=Nomad client
Documentation=https://www.nomadproject.io/
After=network.target

[Service]
Type=simple
User=root
Group=root
ExecStart=/usr/local/bin/nomad agent -config /etc/nomad.d/client.hcl

ExecReload=/bin/kill -HUP $MAINPID
KillSignal=SIGINT
TimeoutStopSec=5
Restart=on-failure
SyslogIdentifier=nomad

[Install]
WantedBy=multi-user.target

# 配置文件
sudo mkdir -p /etc/nomad.d/
sudo vi client.hcl

log_level = "DEBUG"

data_dir = "/tmp/client"

name = "client1"

client {
  enabled = true
  servers = ["172.26.39.156:4647"]
  host_volume "kafka" {
    path = "/data/kafka"
  }
  host_volume "zookeeper-data" {
    path = "/data/zookeeper/data"
  }
  host_volume "zookeeper-log" {
    path = "/data/zookeeper/log"
  }
}

ports {
  http = 5656
}

plugin "docker" {
  config {
    gc {
      dangling_containers {
        enabled = false
      }
    }
  }
}

sudo systemctl enabled nomad-client.service    #设置为开机自动启动
sudo systemctl daemon-reload    #修改脚本后重新加载
sudo systemctl start nomad-client.service    #启动
client2
cd /etc/systemd/system
sudo vi nomad-client.service


[Unit]
Description=Nomad client
Documentation=https://www.nomadproject.io/
After=network.target

[Service]
Type=simple
User=root
Group=root
ExecStart=/usr/local/bin/nomad agent -config /etc/nomad.d/client.hcl

ExecReload=/bin/kill -HUP $MAINPID
KillSignal=SIGINT
TimeoutStopSec=5
Restart=on-failure
SyslogIdentifier=nomad

[Install]
WantedBy=multi-user.target

# 配置文件
sudo mkdir -p /etc/nomad.d/
sudo vi client.hcl

log_level = "DEBUG"

data_dir = "/tmp/client"

name = "client2"

client {
  enabled = true
  servers = ["172.26.39.156:4647"]
  host_volume "kafka" {
    path = "/data/kafka"
  }
  host_volume "zookeeper-data" {
    path = "/data/zookeeper/data"
  }
  host_volume "zookeeper-log" {
    path = "/data/zookeeper/log"
  }
}

ports {
  http = 5656
}

plugin "docker" {
  config {
    gc {
      dangling_containers {
        enabled = false
      }
    }
  }
}

sudo systemctl enabled nomad-client.service    #设置为开机自动启动
sudo systemctl daemon-reload    #修改脚本后重新加载
sudo systemctl start nomad-client.service    #启动
访问consul和nomad自带的web服务
利用 ssh tunnel
#ssh -L 用法(本地起端口映射到其他机器)
ssh -L 8888:HostC:22 UserB@HostB
# 意思是在 HostA 上,让 localhost 起 8888 端口,使之映射到 HostC 的 22 端口。如此,在 HostA 上可以使用 localhost:8888 就像使用 HostC:22 一样。
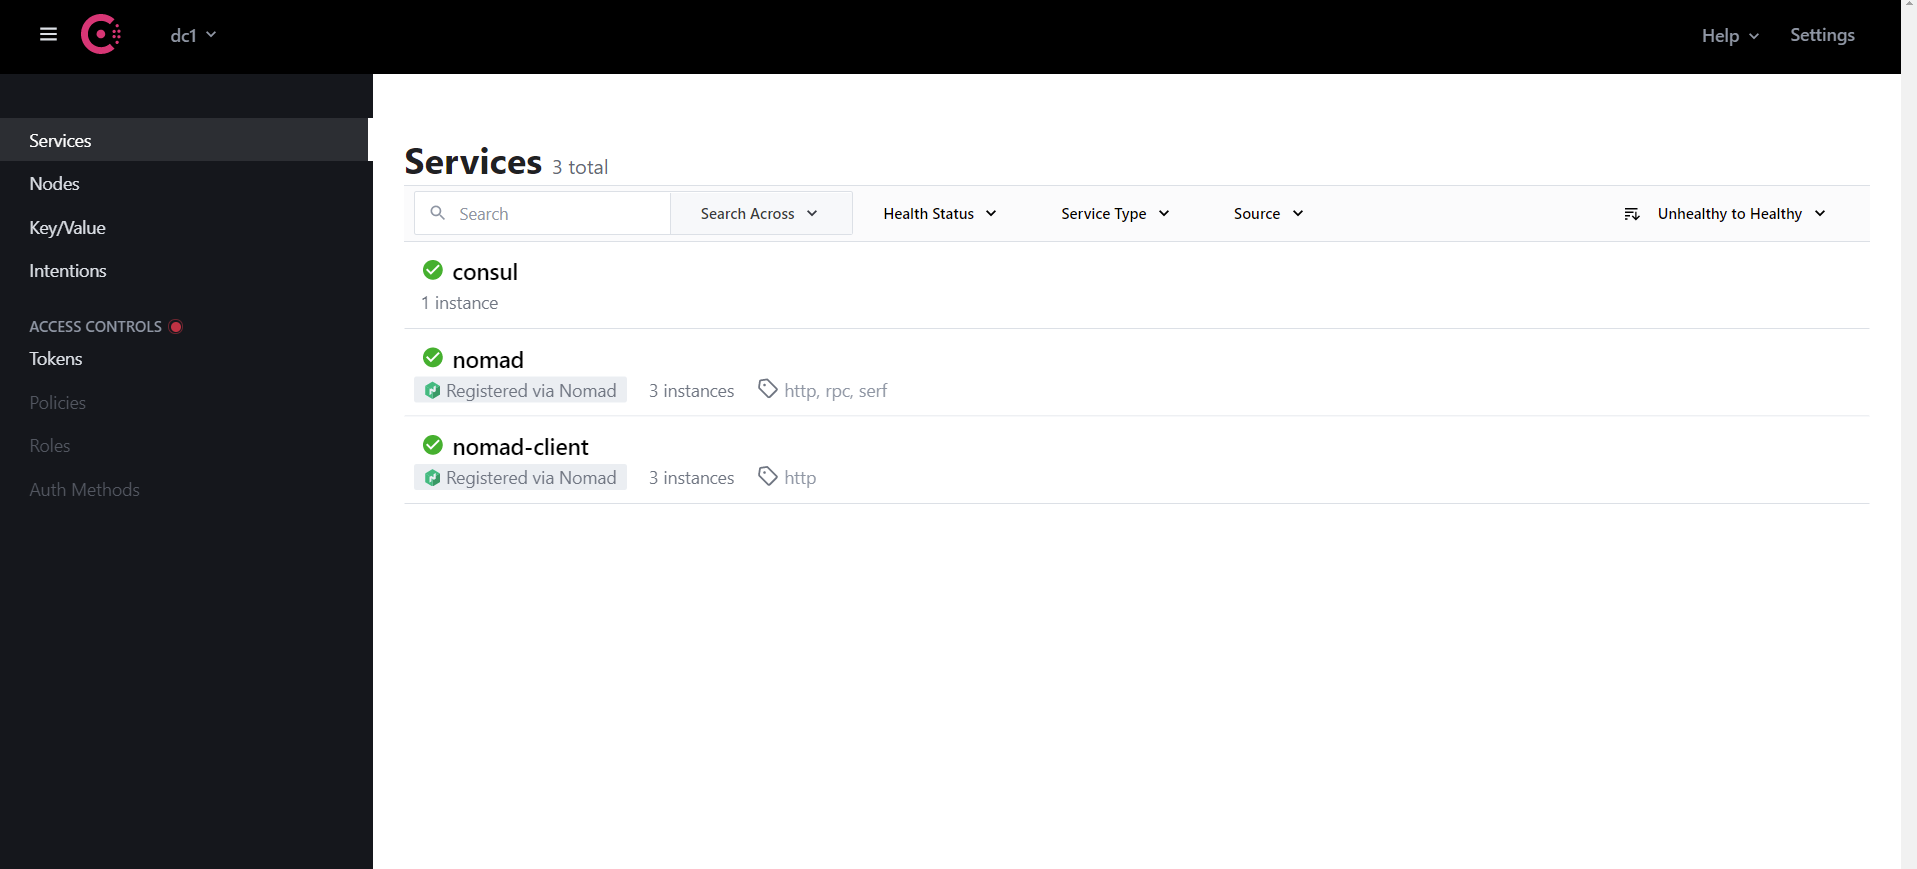
consul
访问 http://localhost:8500
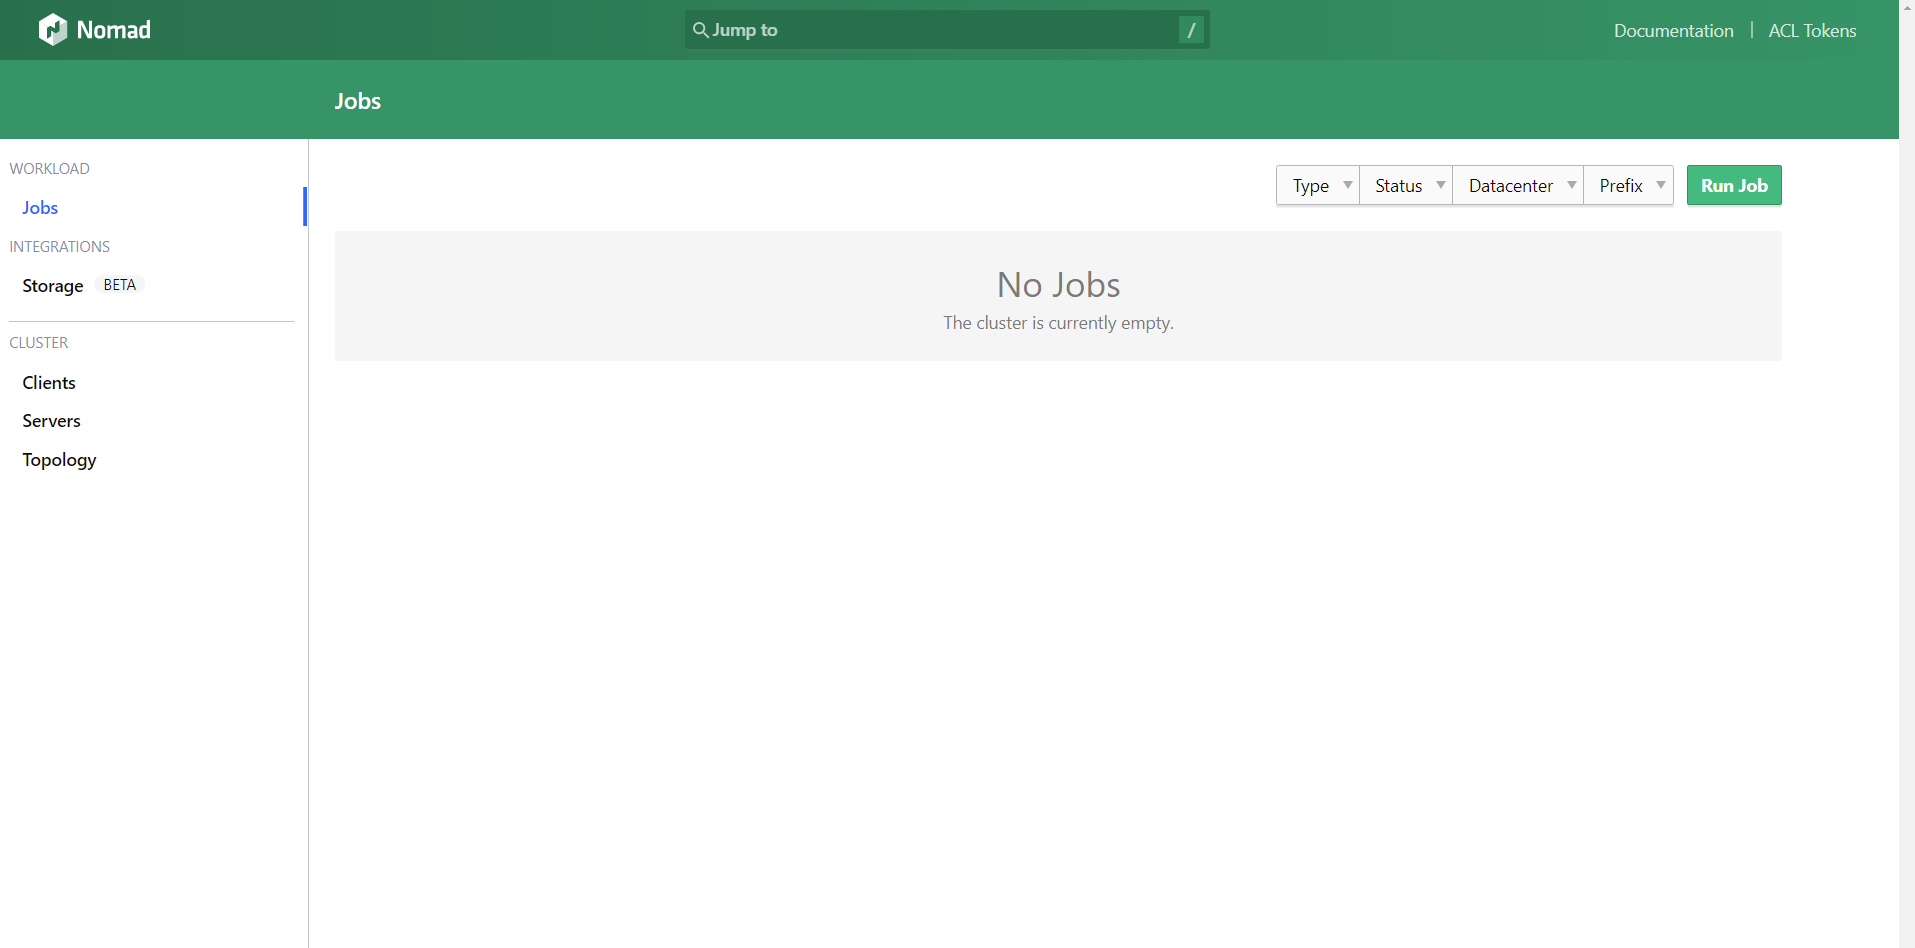
nomad
访问 http://localhost:4646
参考资料
图解再谈ssh port forwarding-ssh隧道技术